Chlamydia Swab
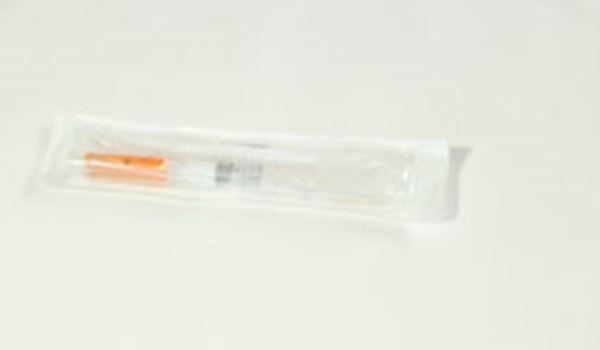
Pack
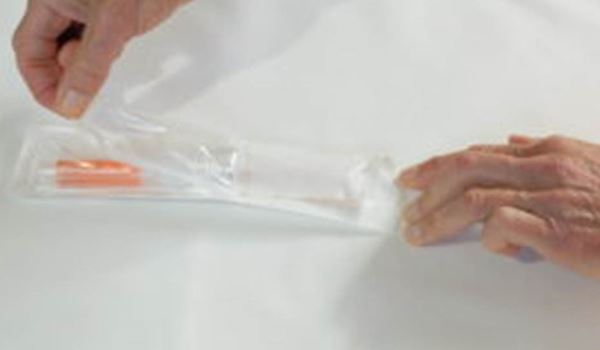
Peel Open Pack
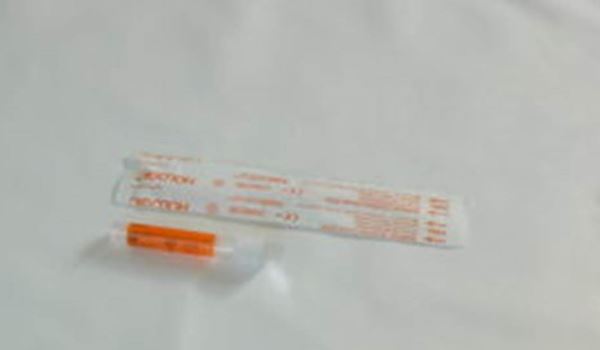
Contents
Page last reviewed: 05 July 2021
Page created: 05 July 2021
Page created: 05 July 2021